Creating a Nez project from scratch is very easy. For the following guide I’m going to be using the command line dotnet and some basic text editing to create the project in order to be friendlier to all platforms.
You will need
- Git (or from your system package manager)
- Dotnet commandline tool (Core for the commandline, .net for the runtime)
Create the solution
> mkdir NezExample
> cd NezExample
> dotnet new solution
> git init
This is the first step of the setup, we initialize a git repo in order to track Nez and easily have a way to update it later.
Submodule Nez and create game project
> git submodule add https://github.com/prime31/Nez.git
> mkdir GameSource
> cd GameSource
> dotnet new console
And then we added nez to our solution by adding it as a submodule. What this means is that it is stored as a pointer to the actual git project, making it super easy to update nez down the line!
Modify the project and install Monogame
In GameSource/GameSource.csproj we’re going to make a few changes.
First we change the output to WinExe in order to hide the console and let dotnet know that we’re making a windowed application.
Then we move over to net471 since core doesnt play all too well with certain features!
And finally set the architecture to AnyCPU for compatibility reasons. All these changes are related to the first property group. If youre confused you can see the whole .csproj later in the article.
<PropertyGroup>
	<OutputType>WinExe</OutputType>
	<TargetFramework>net471</TargetFramework>
	<AssemblyName>YourGameName</AssemblyName>
	<PlatformTarget>anycpu</PlatformTarget>
</PropertyGroup>
Then we add the packages for Monogame and ImGui and Nez!
<ItemGroup>
	<PackageReference Include="ImGui.NET" Version="1.71.0" />
	<PackageReference Include="MonoGame.Framework.DesktopGL" Version="3.7.1.189" />
	<!-- Required: -->
	<ProjectReference Include="..\Nez\Nez.Portable\Nez.csproj" />
	<!-- Optional: -->
	<ProjectReference Include="..\Nez\Nez.ImGui\Nez.ImGui.csproj" />
	<ProjectReference Include="..\Nez\Nez.Persistence\Nez.Persistence.csproj" />
</ItemGroup>
So that the entire file looks something like this
<Project Sdk="Microsoft.NET.Sdk">

	<PropertyGroup>
		<OutputType>WinExe</OutputType>
		<TargetFramework>net471</TargetFramework>
		<AssemblyName>YourGameName</AssemblyName>
		<PlatformTarget>anycpu</PlatformTarget>
	</PropertyGroup>

	<ItemGroup>
		<PackageReference Include="ImGui.NET" Version="1.71.0" />
		<PackageReference Include="MonoGame.Framework.DesktopGL" Version="3.7.1.189" />
		<ProjectReference Include="..\Nez\Nez.Portable\Nez.csproj" />
		<ProjectReference Include="..\Nez\Nez.ImGui\Nez.ImGui.csproj" />
		<ProjectReference Include="..\Nez\Nez.Persistence\Nez.Persistence.csproj" />
	</ItemGroup>

</Project>
Create the bare minimum to run a Nez Project
We then create a file NezExample/GameSource/GameCore.cs with the following contents
using Nez;

namespace GameSource
{
	public class GameCore : Core
	{
		override protected void Initialize()
		{
			base.Initialize();
			Scene = new Scene();
		}
	}
}
and then modify NezExample/GameSource/Program.cs to run our game
using System;

namespace GameSource
{
	class Program
	{
		static void Main(string[] args)
		{
			using(var game = new GameCore())
			{
				game.Run();
			}
		}
	}
}
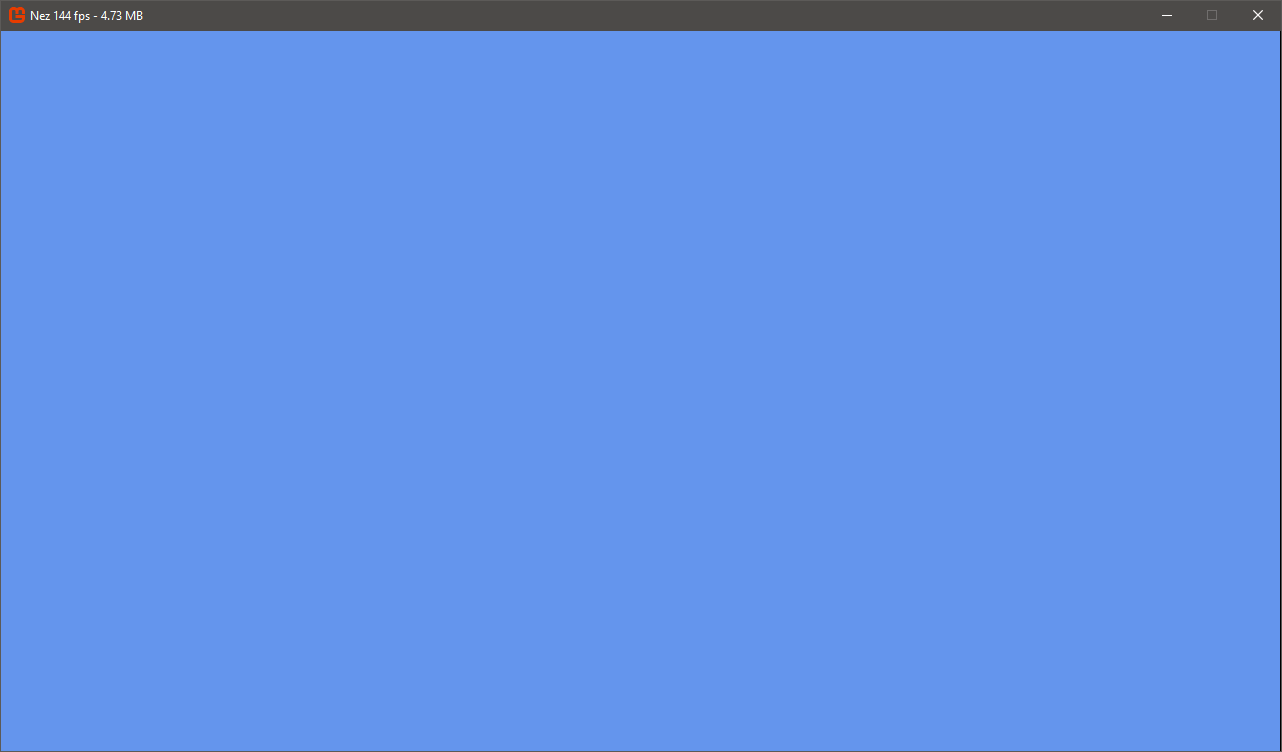
We can now test it all works by running dotnet run in the NezExample/Gamesource folder or by opening the solution file with Visual Studio and selecting GameSource as your debug project. You should see a screen like this
Clean up and register all our projects
Now we register all our projects into the solution. In NezExample/ run the following
> dotnet sln add Nez/Nez.Portable/Nez.csproj
> dotnet sln add Nez/Nez.Persistence/Nez.Persistence.csproj
> dotnet sln add Nez/Nez.ImGui/Nez.ImGui.csproj
> dotnet sln add GameSource/GameSource.csproj
Optional stuff includes adding C# Specific .gitignore, making a github project to house this new git repo, or adding other amazing nez features such as Verlet Physics or Farseer Physics.
Congratulations! You have a nez project up and running.
Extra
There is more interesting things you can add to your .csproj to make it much easier to handle. One of which is to enable all assets being immediately copied over to the build, no more managing VS file references!
<ItemGroup>
	<Content Include="Content\**">
		<CopyToOutputDirectory>Always</CopyToOutputDirectory>
	</Content>
</ItemGroup>
Another great addition is automatically including Nez’s default shaders and assets.
<!-- Default Nez Assets -->
<ItemGroup>
	<Content Include="../Nez/DefaultContent/FNAEffects/**/*.fxb">
		<Link>Content/nez/effects/%(RecursiveDir)%(Filename)%(Extension)</Link>
		<CopyToOutputDirectory>PreserveNewest</CopyToOutputDirectory>
	</Content>
	<Content Include="../Nez/DefaultContent/textures/**/*.xnb">
		<Link>Content/nez/textures/%(RecursiveDir)%(Filename)%(Extension)</Link>
		<CopyToOutputDirectory>PreserveNewest</CopyToOutputDirectory>
	</Content>
</ItemGroup>
Finished Project Download
Here is a link to download the finished project with all the extras and an example scene!